
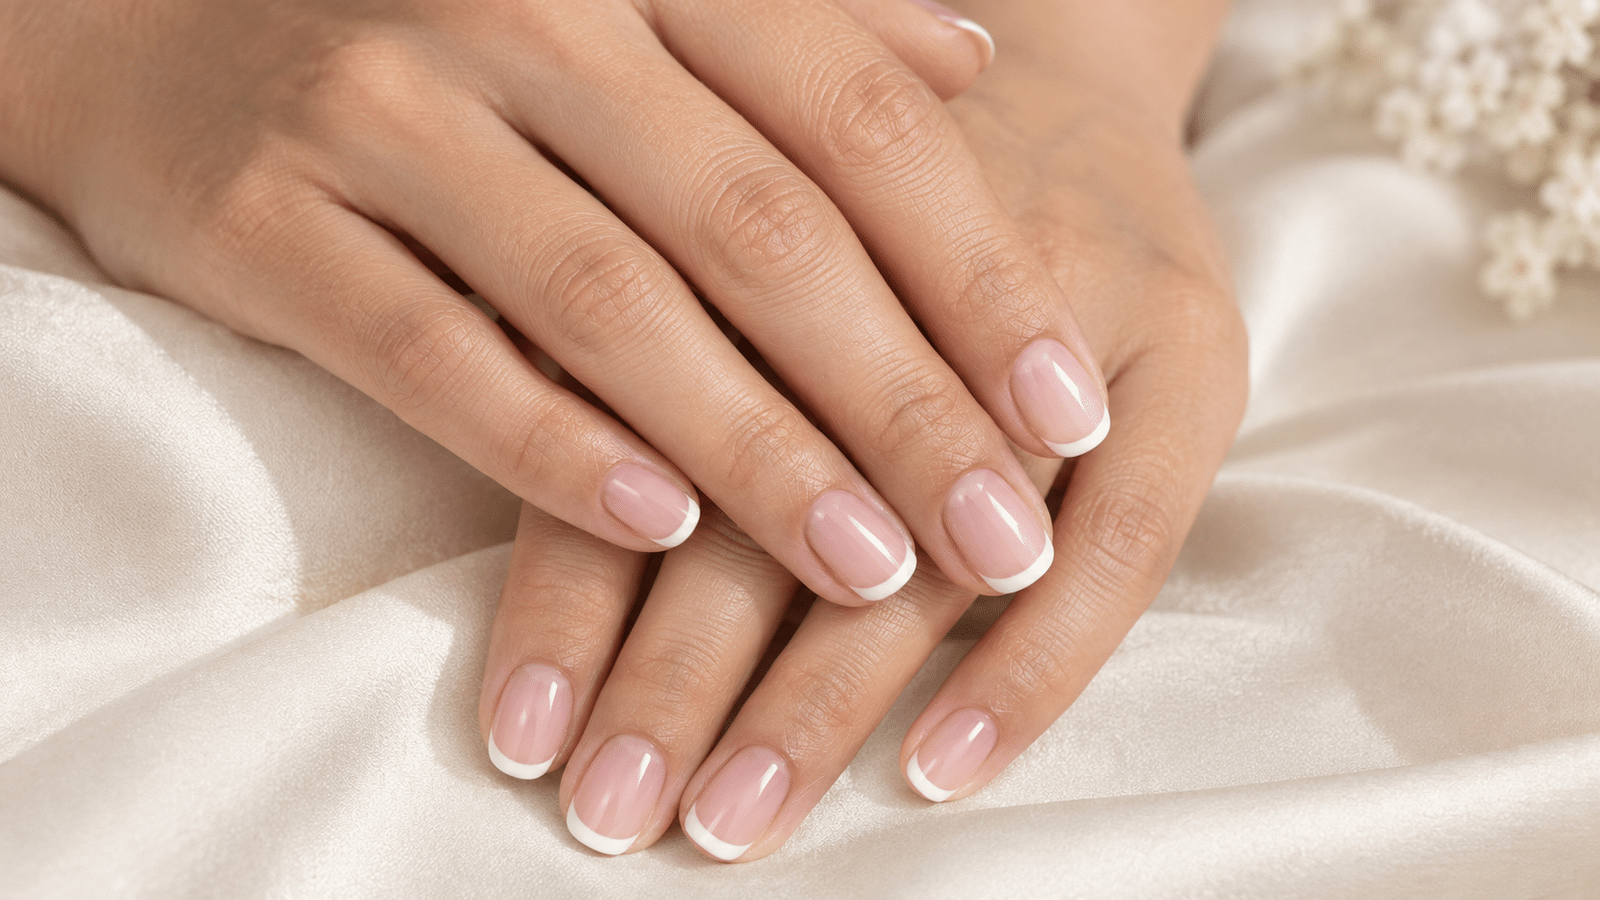
Easy French Manicure at Home: Stunning Results
A French manicure is a timeless nail look that pairs a natural-looking base with clean, contrasting tips. It works for everyday wear, special occasions, and anyone who wants a neat, polished finish without an elaborate nail design.
The good news? You can create a French manicure at home with a few basic tools, a little patience, and the right technique. This guide walks you through each step, from preparing your nails to creating white tips and finishing with a smooth top coat.
What Is a French Manicure?
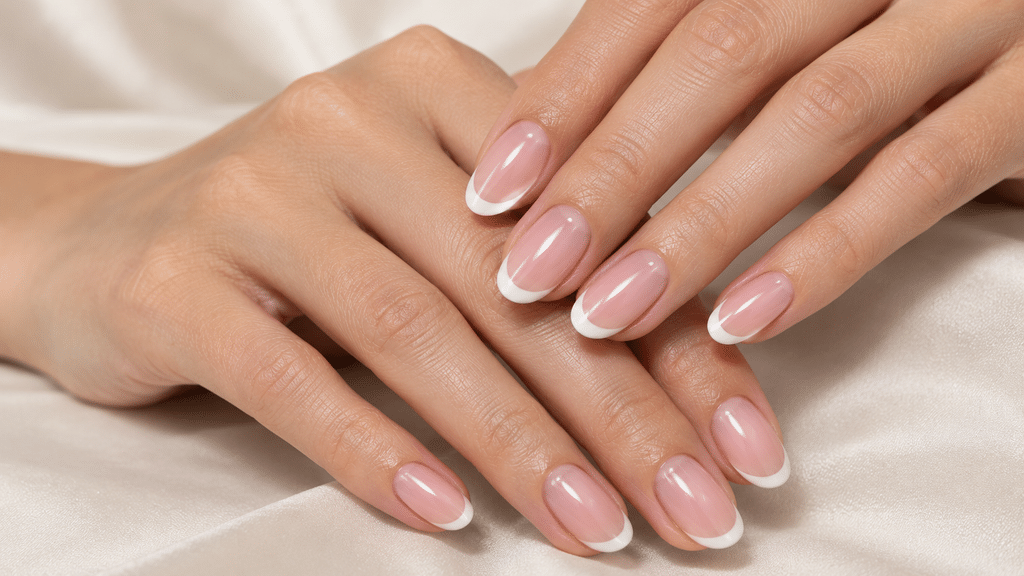
A classic French manicure features a sheer pink, nude, or natural-looking base with white tips. The contrast gives the nails a clean, defined appearance while keeping the overall look understated.
You can adapt the style to suit your preferences. Choose a traditional white tip for a classic finish, or experiment with different tip colors once you feel comfortable with the technique.
What You Need for a French Manicure
Gather your supplies before you begin. You will need:
- A nail file and a gentle buffer, if needed
- Nail polish remover and lint-free cotton pads
- A base coat
- A sheer pink or nude nail polish
- White nail polish
- A clear top coat
- A thin nail-art brush or French manicure guide strips
- A small cleanup brush and remover for correcting polish around the nails
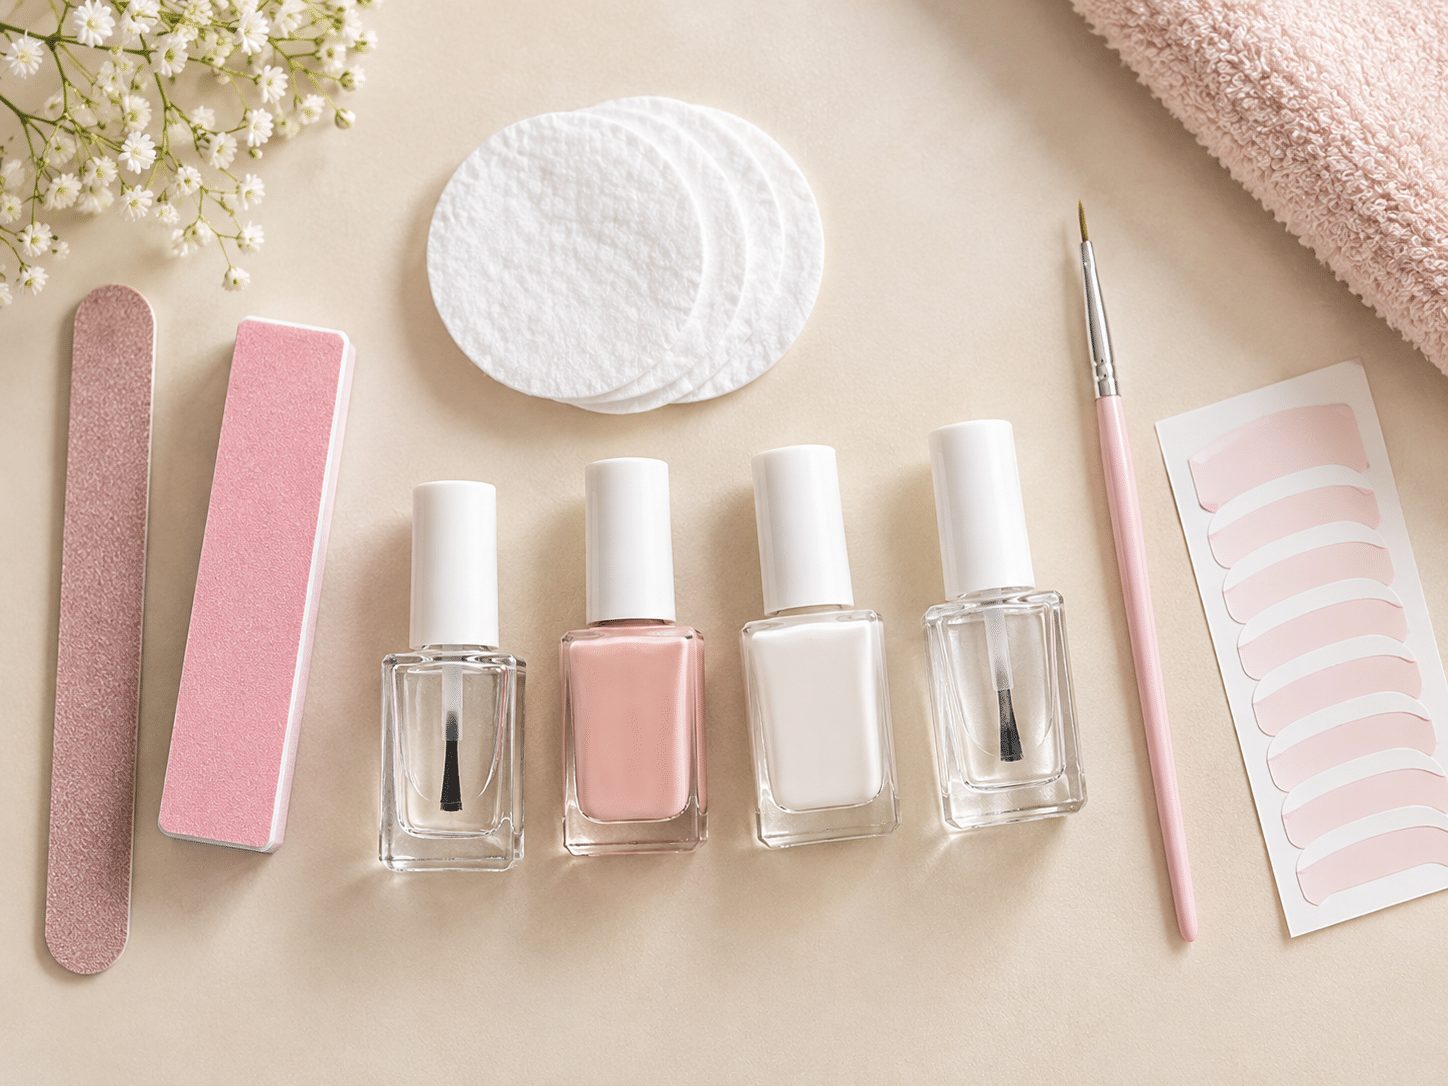
Choose nail polish that applies smoothly and gives you enough time to work before it sets. If you are building a manicure kit, you can later link this section to your home manicure kit guide.
Start with clean, dry nails and shape them gently with a nail file. Avoid cutting or forcefully pushing back your cuticles, as this can increase the risk of infection. For more guidance, read the American Academy of Dermatology’s manicure safety recommendations.
How to Do a French Manicure at Home
Step 1: Prepare Your Nails
Remove any old polish and wash your hands. Make sure your nails are clean and dry before applying new products.
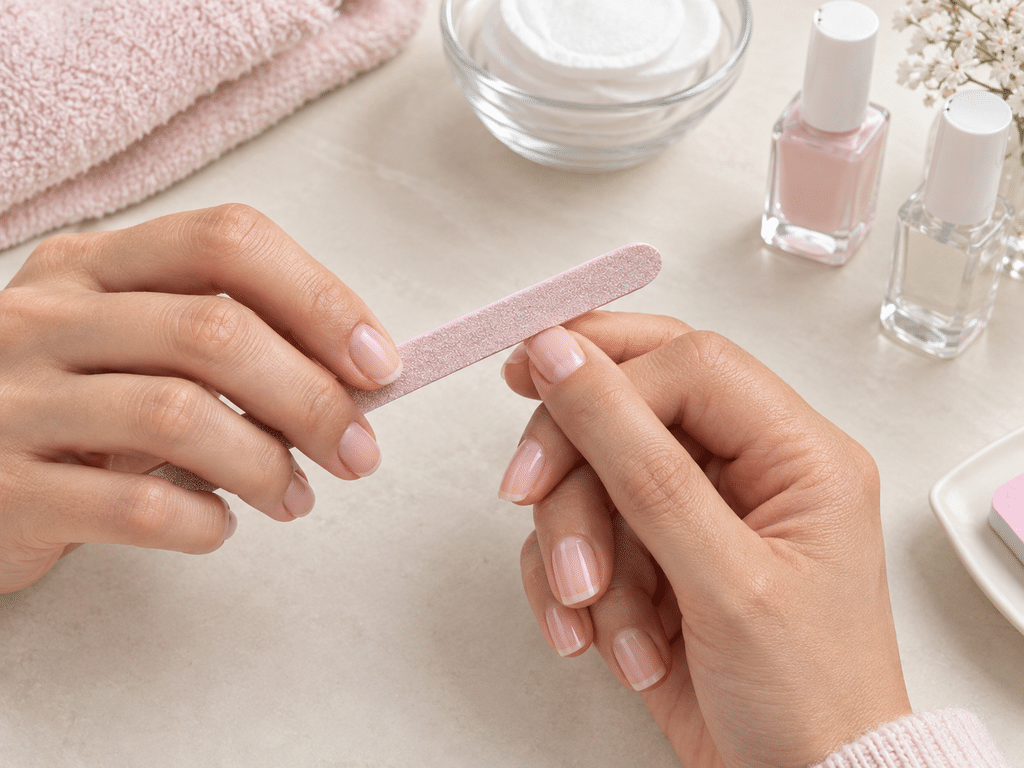
File your nails into your preferred shape, keeping the edges smooth. A rounded or square shape can both work well; the best choice depends on your personal style and nail length. For more guidance, see our planned nail shapes guide.
Gently tidy the area around your nails. Avoid cutting your cuticles, since they help protect the skin around the nail.
How to Do a French Manicure at Home
Step 1: Prepare Your Nails
Remove any old polish and wash your hands. Make sure your nails are clean and dry before applying new products.
File your nails into your preferred shape, keeping the edges smooth. A rounded or square shape can both work well; the best choice depends on your personal style and nail length. For more guidance, see our planned nail shapes guide.
Gently tidy the area around your nails. Avoid cutting your cuticles, since they help protect the skin around the nail.
Step 2: Apply a Base Coat
Apply a thin layer of base coat to each nail. This helps create an even surface for the color and can help your manicure wear more evenly.
Allow the base coat to dry according to the product instructions before moving on.
Step 3: Paint the White Tips
This is the signature step of a French manicure.
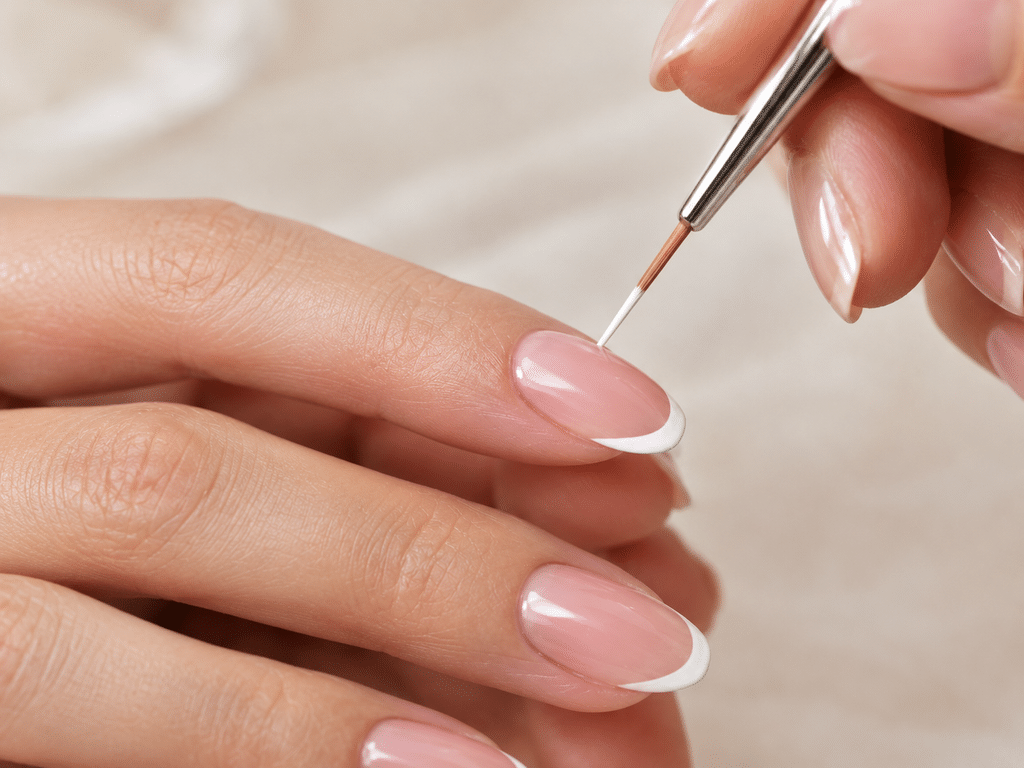
For a freehand approach, use white polish and a fine nail-art brush to draw a thin line along the free edge of each nail. Work slowly, using small strokes rather than trying to paint the entire tip in one movement.
If you are new to the technique, French manicure guide strips can help you create a more defined edge. Place each strip according to its instructions, apply a thin layer of white polish to the exposed tip, and carefully remove the strip as directed by the product.
Try to keep the tips similar in width and curve. They do not need to be identical, but a consistent shape gives the finished manicure a more balanced appearance.
Let the white polish dry before continuing.
Step 4: Apply a Sheer Pink or Nude Color
Apply a thin coat of sheer pink, nude, or another natural-looking shade over the nail, following the polish manufacturer’s instructions. Depending on the product and the finish you want, you may prefer one coat or a second thin coat.
Use controlled strokes and avoid applying too much polish near the skin. Thin layers generally give you more control and help reduce smudging.
Step 5: Finish With a Top Coat
Once the color layers are dry enough for the next step, apply a clear top coat. Use smooth, even strokes and lightly cover the free edge of each nail to help seal the tip.
Allow the manicure to dry fully according to the product directions. Be careful with everyday tasks while the polish is setting, because a manicure can still smudge even when the surface feels dry.
Common French Manicure Mistakes to Avoid
Making the white tips too thick. Start with a narrow line and build it up gradually if needed. A thinner tip can be easier to control, especially on shorter nails.
Applying thick coats. Thick layers can take longer to dry and may smudge. Use thin coats and follow the drying guidance on your polish.
Rushing between steps. Give each layer enough time to set before adding another. This is especially important when working with white polish and guide strips.
Leaving polish around the skin. Use a small cleanup brush with a little remover to tidy the edges carefully. Avoid flooding the cuticles with polish in the first place.
Expecting every nail to look identical. Work slowly and focus on consistent tip width and shape. Small differences are normal when you are learning.
How to Help Your French Manicure Last
Wear gloves for tasks that expose your hands to cleaning products or prolonged water contact. Avoid using your nails as tools, and follow the care instructions for the products you use.
If the polish chips, remove loose polish safely and touch up the nail when practical rather than picking at the coating. Keeping your nails and surrounding skin comfortable and moisturized can also support a tidy appearance. For more guidance, see our planned natural nail care tips article.
How long your manicure lasts depends on the polish, nail condition, preparation, and daily activities, so avoid promising a fixed number of days.
Frequently Asked Questions
Can I do a French manicure on short nails?
Yes. You can adapt the width of the white tip to the length of your nails. A narrow tip can help keep the look balanced on shorter nails.
Do I need French manicure guide strips?
No. Guide strips are optional. You can paint the tips freehand with a fine brush, or use guides if you prefer extra help creating a defined edge.
What colors do I need for a classic French manicure?
A traditional version uses white polish for the tips and a sheer pink, nude, or natural-looking shade for the base, plus base coat and top coat.
Why does my French manicure look uneven?
The white tips may vary in width or curve, or the polish may have been applied too thickly. Try using a guide strip, working in small strokes, and correcting each tip before moving on.
Final Thoughts
A French manicure at home is all about preparation, thin layers, and taking your time with the tips. Start with simple tools and a classic color combination, then experiment with different shapes and colors as your technique improves.
Looking for your next look? Explore our nail art ideas guide for more inspiration.
This is such a well-structured tutorial! The advice on keeping the white tips narrow and building up gradually is exactly what beginners need to hear — thick tips are the number one mistake I see. One extra tip: resting your pinky on the table while painting the freehand line makes a huge difference for a steady hand. The step about not rushing between layers is so important too. Great guide for anyone wanting salon-quality French tips at home!