Nail Shapes Guide: How to Choose the Right Shape
Choosing a nail shape is about more than appearance. The right shape should work with your natural nail length, nail-bed width, daily routine, and personal style. Some shapes are easy to maintain on short nails, while others need more length to achieve their distinctive outline.
This guide explains eight popular nail shapes, how they differ, which options work well on short natural nails, and how to file and maintain them at home.
What Are the Different Nail Shapes?
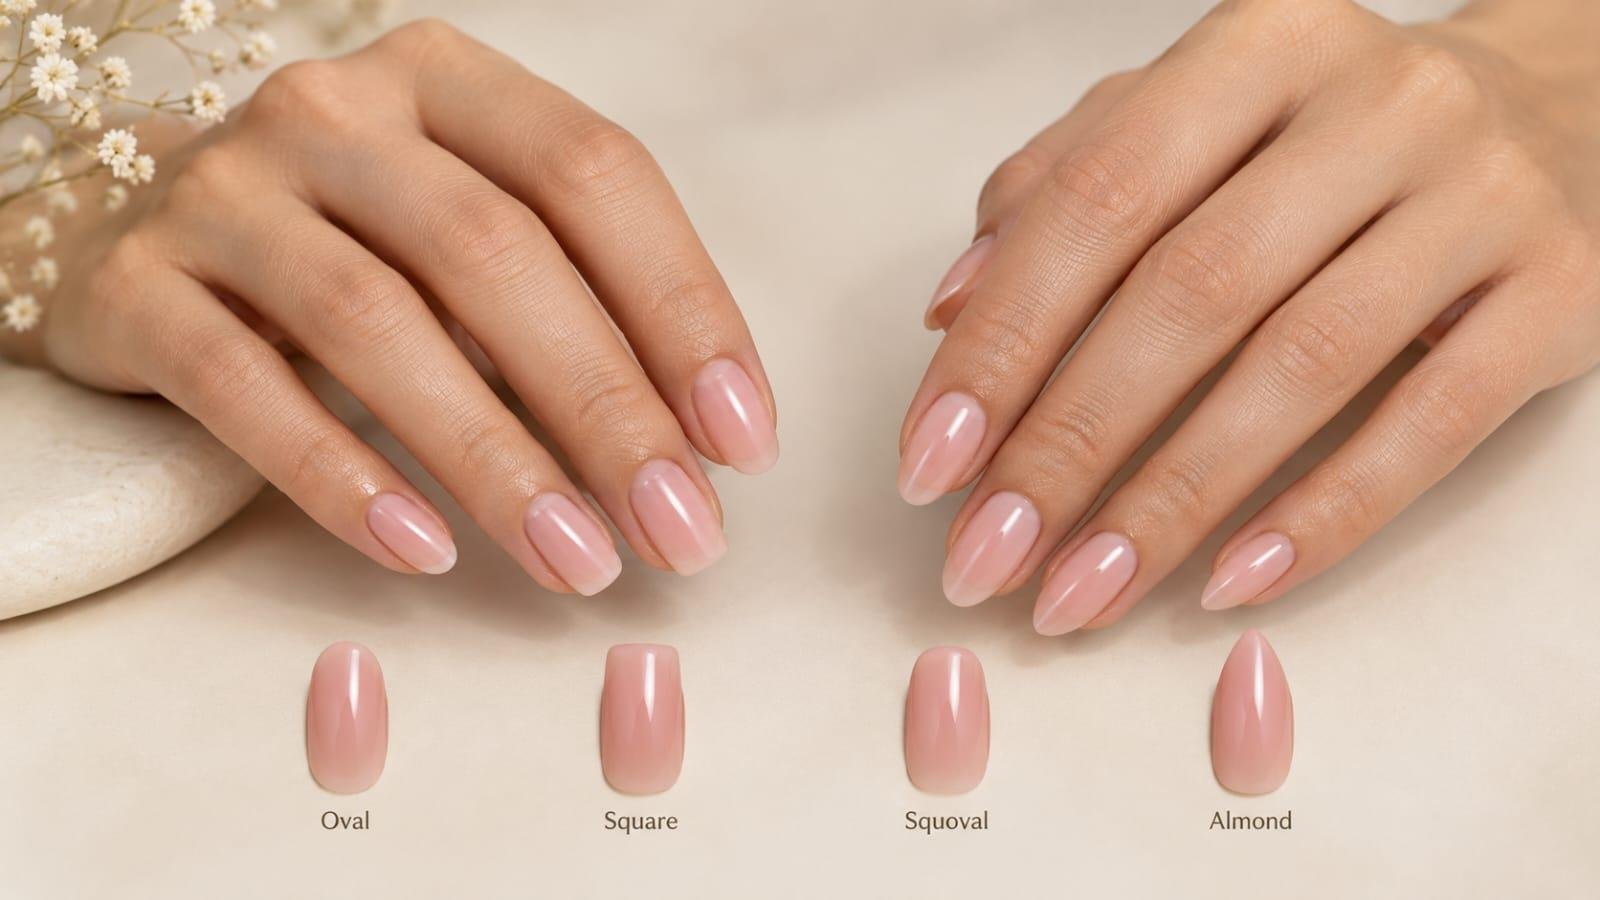
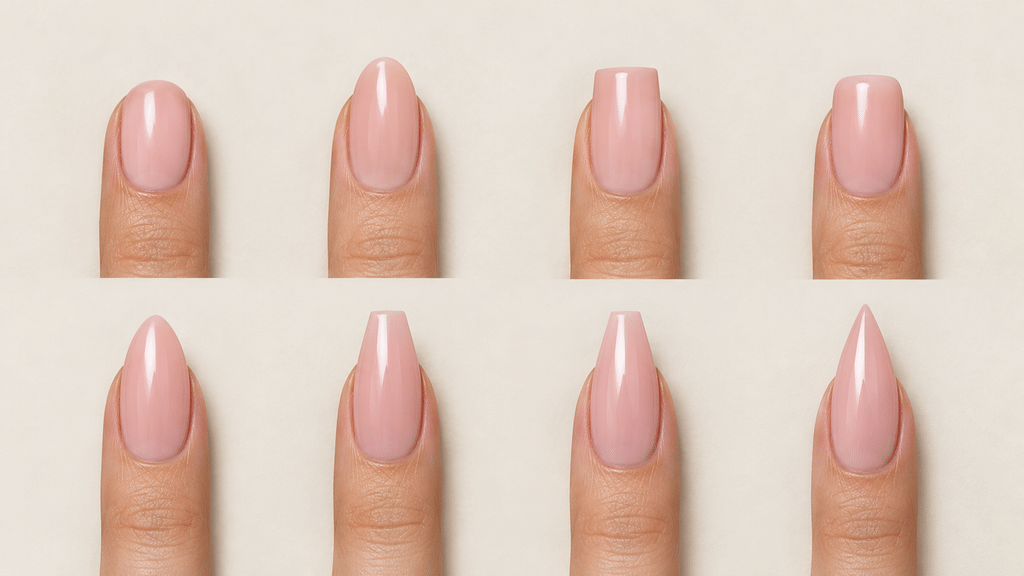
Nail shape describes the outline of your nail’s free edge and sides. The most common options include round, oval, square, squoval, almond, coffin, ballerina, and stiletto.
| Nail shape | Defining feature | Works well for |
|---|---|---|
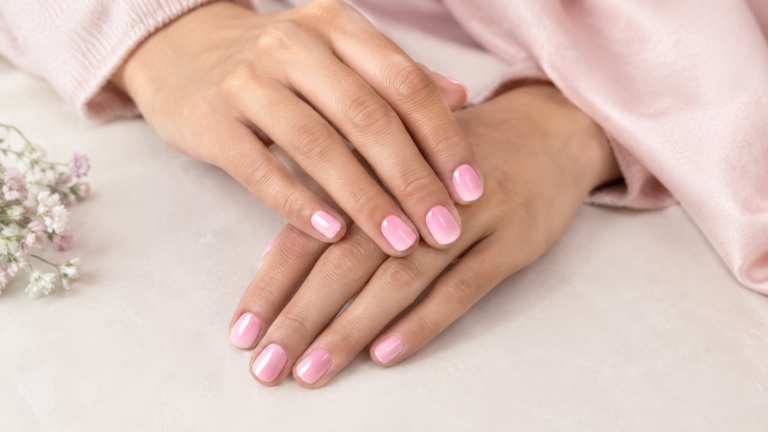
| Round | Short edge with a curved tip | Short natural nails and low-maintenance manicures |
| Oval | Rounded tip with gently tapered sides | A soft, elongated appearance |
| Square | Straight sides and a flat tip | Classic manicures and naturally wider nail beds |
| Squoval | Straight tip with softened corners | A balance of square and rounded shapes |
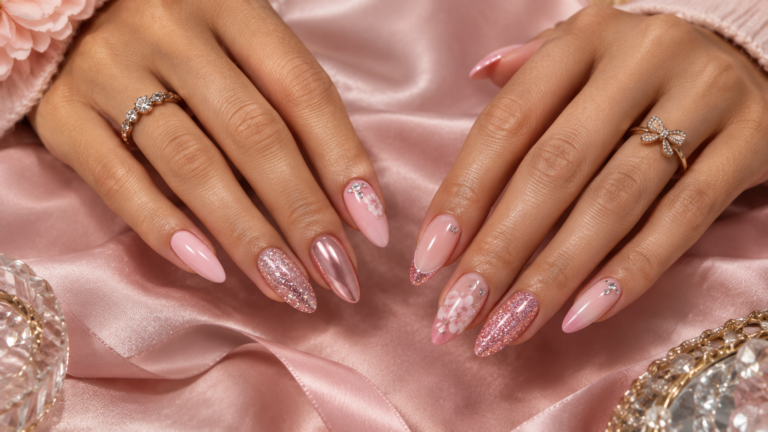
| Almond | Tapered sides and a rounded point | Medium-length nails and elegant manicures |
| Coffin | Tapered sides and a flat tip | Longer nails and statement manicures |
| Ballerina | Similar to coffin, with a tapered silhouette | Long nails and a structured appearance |
| Stiletto | Dramatically tapered sides ending in a point | Bold looks, usually with extensions |
Quick answer: Round and squoval are practical starting points for short natural nails. Oval and almond offer a tapered appearance, while coffin and stiletto generally require more length or nail extensions.
No shape is universally best. Your nail condition, comfort, and preferred maintenance routine matter more than following a trend.
8 Popular Nail Shapes Explained
1. Round Nails
Round nails follow the natural curve of the fingertip, with softly rounded edges and a curved free edge. They are a practical choice for people who prefer short nails.
Why choose this shape?
- Easy to maintain at a short length.
- Less likely to catch on everyday objects when kept smooth.
- Works well with sheer polish, bold colors, and simple nail art.
How to shape them: File the sides gently, then follow the natural curve of the fingertip. Avoid digging into the sidewalls.
2. Oval Nails
Oval nails have rounded tips and sides that taper gently toward the end. They create a softer outline than square nails without the sharp point of an almond shape.
Why choose this shape?
- Suitable for short-to-medium or longer natural nails, depending on their existing length.
- Pairs well with French manicures and minimalist nail art.
- Offers a balanced look without requiring a dramatic taper.
How to shape them: File both sides evenly, then round the free edge into a smooth oval. Keep the shape symmetrical rather than narrowing one side more than the other.
3. Square Nails
Square nails have relatively straight sidewalls and a flat tip, with corners that may be sharp or slightly softened. They are a classic option for short and medium-length nails.
Why choose this shape?
- Creates a clean, geometric appearance.
- Works well with French tips and color-blocked designs.
- Preserves a wider tip rather than narrowing the nail toward a point.
What to consider: Sharp corners can catch on fabric or objects. Slightly softening them can make everyday wear more comfortable.
How to shape them: File the free edge straight across, keeping the file perpendicular to the nail’s length. Check that the tip is level before finishing the corners.
4. Squoval Nails
Squoval combines the straight tip of a square nail with gently rounded corners. It is a useful middle ground for people who like a structured manicure but want less angular edges.
Why choose this shape?
- Offers a neat appearance on short and medium-length nails.
- Works with many manicure styles.
- Softened corners can help reduce snagging compared with sharp square corners.
How to shape them: Start with a square outline. Lightly file the corners until they are smooth, keeping most of the straight tip intact.
5. Almond Nails
Almond nails taper along both sides and finish in a softly rounded point, resembling the outline of an almond. They usually need enough length to create a clear taper.
Why choose this shape?
- Creates a long, tapered silhouette.
- Works well with ombré, nude polish, and detailed nail art.
- Can be achieved on suitable natural nails or with extensions.
What to consider: The tapered tip can be more vulnerable to breakage than a short, rounded shape, depending on nail length and condition.
How to shape them: Gradually taper both sides toward the center, then round the tip. Avoid filing deeply into the sidewalls, as this can weaken the nail.
6. Coffin Nails
Coffin nails have sides that taper inward toward a flat, squared-off tip. The result is a long, angular silhouette that is popular in statement manicures.
Why choose this shape?
- Provides a broad, flat tip for graphic nail art.
- Pairs well with chrome, glitter, ombré, and French-tip designs.
- Creates a distinctive look on longer nails.
What to consider: A clearly defined coffin shape generally requires substantial length. Short natural nails may not have enough free edge to create the characteristic taper and flat tip.
How to shape them: Taper both sides evenly and file the tip straight across. Keep the sidewalls balanced and avoid excessive thinning.
7. Ballerina Nails
Ballerina nails have a tapered outline and a flat tip, giving them a silhouette similar to a ballet slipper. The name is often used interchangeably with coffin nails, although some people use the terms to describe slightly different proportions.
Why choose this shape?
- Suits structured, longer manicures.
- Works well with minimalist designs and elaborate nail art.
- Offers a tapered appearance without a pointed tip.
What to consider: Because the shape usually depends on length, it is often easier to achieve with extensions. Longer nails also require more care to avoid impacts and snagging.
How to shape them: Taper the sides evenly and create a flat tip. Check the shape from above to ensure both sides mirror one another.
8. Stiletto Nails
Stiletto nails taper sharply toward a pointed tip. They create a dramatic silhouette and are commonly worn with nail extensions.
Why choose this shape?
- Makes a bold visual statement.
- Works well with chrome finishes, rhinestones, and dramatic nail art.
- Creates a pointed outline that differs clearly from the rounded almond shape.
What to consider: The narrow tip can be vulnerable to damage, particularly on long nails. Stiletto nails may also be less practical for people whose daily activities involve frequent fingertip contact.
How to shape them: Taper both sides toward a central point without creating uneven edges. For long extensions, professional shaping may be preferable.
How to Choose the Best Nail Shape for Your Nails
There is no single nail shape that suits everyone. Start with the amount of natural free edge you have, how your nails grow, and how much maintenance you are comfortable with.
For short natural nails
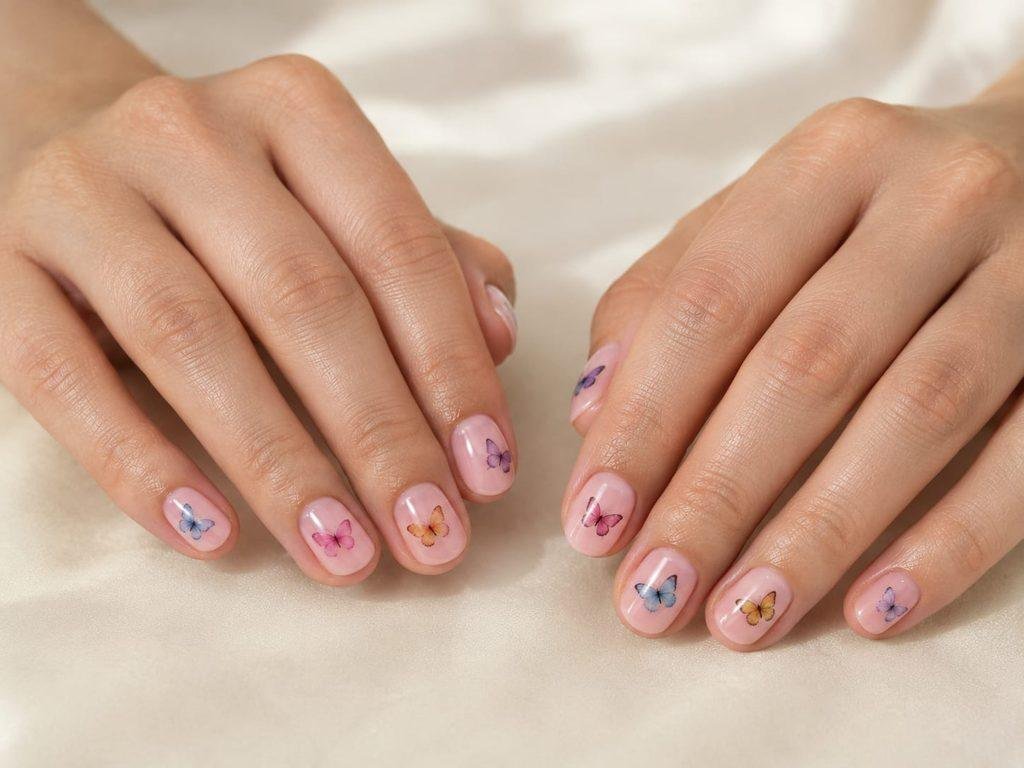
Round, squoval, and short square shapes are practical starting points. They do not require a long free edge, and their outlines can be maintained without dramatically narrowing the sides.
If your nails break easily, choose a comfortable length and smooth any rough edges rather than trying to create a long, tapered shape.
For wider nail beds
Square and squoval shapes preserve a relatively straight, broad outline. Oval or almond shapes may create a more tapered visual effect if your nail length allows it.
These are styling options, not rules about what you should wear. Nail-bed width alone does not determine which shape looks best.
For a tapered appearance
Oval and almond shapes gradually narrow toward the tip. Almond generally has a more pronounced taper and a narrower end than oval.
Remember that the visual effect depends on the nail’s actual proportions, not just its name.
For long nails or extensions
Almond, coffin, ballerina, and stiletto are options when sufficient length is available. Consider your daily activities and the extra care needed to maintain longer nails before choosing one.
For an easy-to-maintain manicure
Round and squoval are sensible starting points for many people who prefer shorter nails. The shape alone does not guarantee strength, however. Nail condition, length, filing technique, and exposure to moisture or chemicals also affect durability.
Natural Nail Shapes vs. Acrylic Nail Shapes
Natural nails and acrylic extensions can share the same shape names, but the available options may differ.
Natural nails are limited by their existing length and condition. For example, a short natural nail may be easy to shape into a round or squoval outline but may not have enough free edge for a defined coffin or stiletto shape.
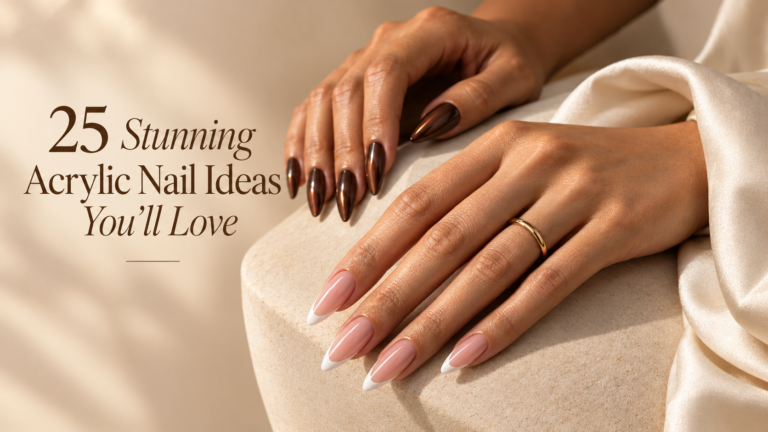
Acrylic extensions can create additional length and more dramatic silhouettes. However, they require appropriate application, maintenance, and removal to help minimize damage to the natural nail.
Before choosing extensions, review the dermatologists’ advice on reducing damage from artificial nails
Choose your shape first, then decide whether your natural nails can achieve it comfortably or whether extensions are appropriate. If you are exploring enhanced manicures, see BRELIA’s existing acrylic nail designs article for inspiration.
How to File Your Nails Into Shape at Home
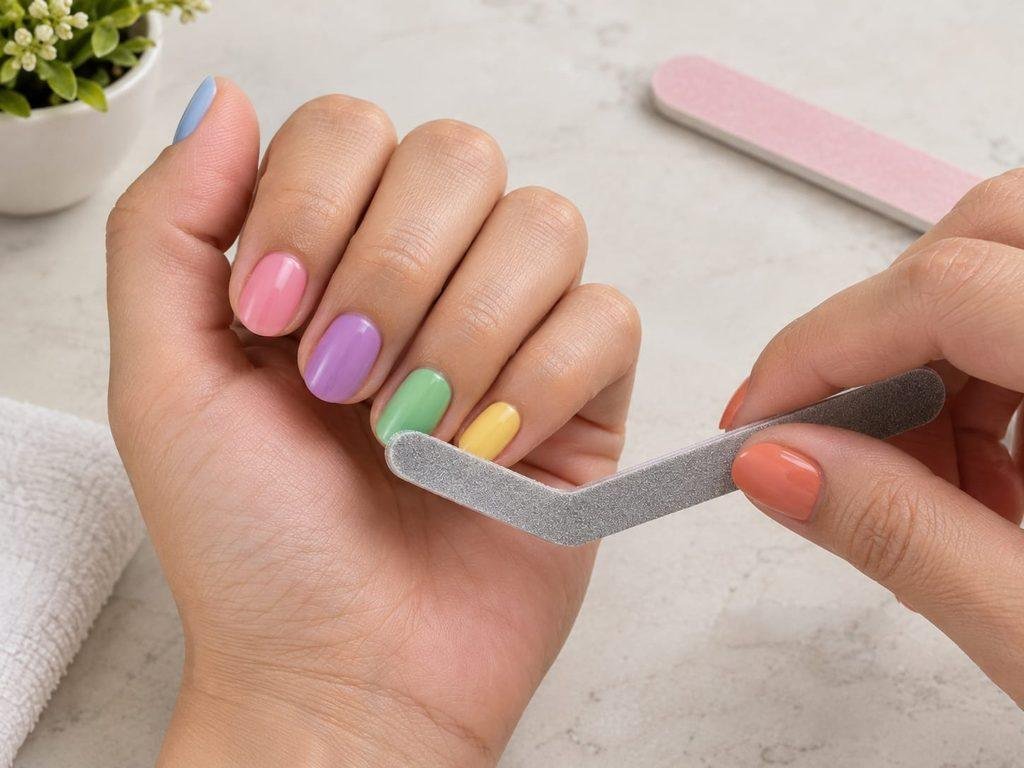
You can create several basic nail shapes at home with a nail file and good lighting. Work slowly and avoid trying to remove too much length in one session.
- Start with clean, dry nails. Remove old polish and inspect your nails for splits, peeling, or damaged edges.
- Choose your target shape. Decide whether you want a round, oval, square, or squoval outline before filing.
- Remove excess length gradually. If needed, trim carefully first, leaving enough free edge to refine the shape.
- File the sides and tip. Use controlled strokes with a suitable nail file. Avoid aggressive back-and-forth sawing, particularly on fragile nails.
- Check both sides. Look at each nail from above and compare its symmetry with the corresponding nail on the other hand.
- Smooth rough edges. Finish gently so the nails do not catch on clothing or hair.
- Moisturize afterward. Apply hand cream and cuticle oil to help keep the surrounding skin comfortable.
Do not file deeply into the sidewalls or cut into the skin around your nails. If a nail is painful, split deeply, or shows unusual changes, avoid aggressive shaping and seek appropriate professional advice.
How to Maintain Your Nail Shape
A well-shaped manicure needs occasional upkeep, but frequent aggressive filing can weaken nails.
- Check the edges regularly. Smooth small snags before they turn into larger splits.
- Use gloves for wet or cleaning tasks. Repeated exposure to water and cleaning chemicals can contribute to brittle nails.
- Moisturize your nails and surrounding skin. Hand cream and cuticle oil can help reduce dryness.
- Avoid using nails as tools. Opening packaging or scraping hard surfaces can stress the free edge.
- Adjust the shape when necessary. If a nail breaks, shorten and reshape it rather than forcing it to match a longer nail.
- Be careful with enhancements. Follow appropriate maintenance and removal practices rather than pulling or peeling artificial nails off.
The best maintenance routine is one that keeps your nails comfortable and manageable without excessive filing.
For additional guidance on filing, moisturizing, and protecting your nails, read the American Academy of Dermatology’s tips for healthy nails
Frequently Asked Questions About Nail Shapes
What is the best nail shape for short nails?
Round, squoval, and short square shapes are practical choices because they work without requiring a long free edge. The best option depends on your natural nail outline, comfort, and preferred appearance.
Which nail shape is strongest?
No shape is guaranteed to prevent breakage. Shorter nails with smooth edges are often easier to manage than very long nails, while the nail’s condition, thickness, and exposure to stress also affect durability.
What is the difference between almond and oval nails?
Oval nails have a softly rounded tip and gently tapered sides. Almond nails taper more noticeably toward a narrower, rounded point. Almond shapes generally need more length to create their characteristic silhouette.
Are coffin and ballerina nails the same?
The terms are often used interchangeably. Both typically feature inward-tapering sides and a flat tip, although some nail artists distinguish them by the proportions of the taper and tip.
Can you have almond nails on short natural nails?
You can create a subtle almond-inspired shape if your natural nails have enough free edge, but a clearly defined almond silhouette generally needs more length. Avoid filing too deeply into the sides just to achieve the look.
Which nail shape is easiest to maintain?
Round and squoval are practical options for many people who prefer shorter natural nails. Their smooth or softened edges can be easier to manage during everyday activities.
How often should I reshape my nails?
There is no fixed schedule. Check for snags and uneven edges as needed, then file lightly when necessary. Avoid repeated heavy filing, and shorten a nail if it develops a split rather than filing aggressively to preserve its shape.
Final Thoughts
The best nail shape is one that suits your natural nails, feels comfortable, and fits your routine. Round and squoval are practical starting points for shorter nails, oval and almond offer softer tapered outlines, and coffin, ballerina, and stiletto create more dramatic silhouettes when enough length is available.
Start with the shape you can maintain comfortably. You can always experiment with a different outline as your nails grow or your style changes.

The details on these nails are flawless. You guys are truly nail artists! Keep inspiring us with such beautiful work.